

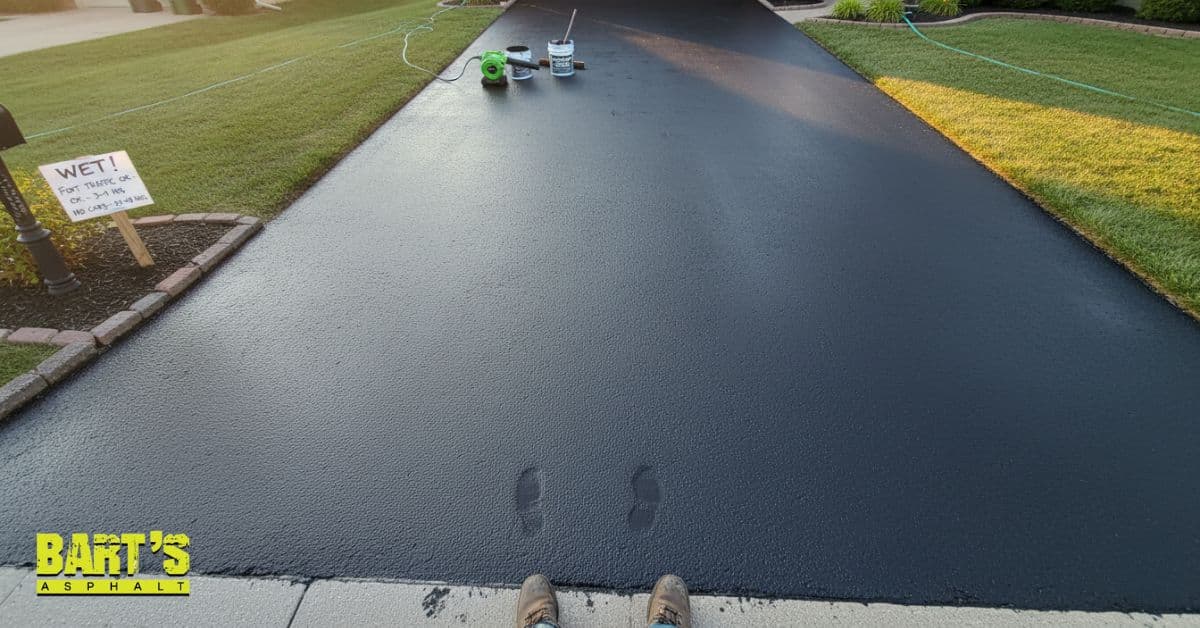
Ever thought of how long driveway sealcoating takes to dry? Generally, the initial drying time ranges from 3 to 4 hours under the best conditions, just enough to allow light foot traffic.
However, for the sealcoating to endure vehicle traffic, a waiting period of 24 to 48 hours is recommended. Factors like weather, application thickness, and type of sealer used can impact these drying periods.
This guide explains these variables and provides a detailed breakdown of what to expect during the sealcoating process.
Key Takeaways
- Driveway sealcoating typically dries to the touch in 3-4 hours but requires 24-48 hours for vehicle traffic and achieves maximum hardness over 30 days.
- Environmental factors like temperature, humidity, and application thickness significantly affect drying and curing times; optimal conditions improve results.
- Regular maintenance, including reapplication every 2-3 years and addressing surface issues promptly, is essential for prolonging the lifespan of sealcoated driveways.
Understanding how drying times vary can make all the difference in planning your project smoothly. Partner with us at Bart’s Asphalt, your experienced sealcoating professional. We can guide you every step of the way.
Ask about a free quote to get started with confidence.
Understanding Driveway Sealcoating Drying Time
Understanding the drying and curing time of asphalt sealer is important for any seal coating project. The most common question homeowners have is, When can cars go on the driveway after sealcoating?
While the surface is typically walkable within 3-4 hours in ideal conditions, you should wait 24-48 hours before it can support vehicle traffic
However, for the sealcoated driveway to support vehicle traffic, you should ideally wait 24-48 hours.
Applying sealcoating at the right time and under favorable weather conditions can prevent damage and extend the life of asphalt surfaces, providing long-lasting protection. The driveway surface must be completely dry before applying the protective coating to ensure proper curing and maximum durability.
Initial Dry Time
The initial dry time for driveway sealers is typically a few hours, usually around three to four hours under normal circumstances. During this phase, the sealant is dry to the touch and can withstand light foot traffic. However, it is essential to verify that the surface has thoroughly dried before proceeding to the next step or applying additional coats.
Full Cure Time
Complete curing of driveway sealcoating can require 24 to 48 hours. After 24 hours of drying, the driveway sealcoating can support typical vehicle traffic in warm, dry conditions, although waiting 48 hours is safer.
Many people ask how long after sealcoating can garbage trucks or heavy vehicles enter, and for these, you should wait even longer. It’s best to give the driveway at least 48 to 72 hours before allowing heavy-duty trucks on the new surface.
Driveway sealers continue to harden over a period of 30 days, achieving maximum hardness during this time. Application thickness and weather conditions can extend the full curing time for sealers.
Factors Affecting Drying Time
The best drying depends on environmental factors like temperature and humidity because they highly impact the drying and curing times for the sealant. Drying and curing times can also vary depending on the condition of the driveway surface and the type of asphalt surface being treated.
Cold weather can greatly delay the dry and cure process and lead to uneven surfaces.
Common problems during the drying phase include:
Weather Conditions
Temperature, humidity, wind speed, and sunlight are key weather conditions that affect asphalt sealer drying time under ideal weather conditions. The temperature should be above 50 degrees Fahrenheit to facilitate effective drying.
On the other hand, a humidity level of less than 60% is recommended for quick drying of sealcoating.
High wind conditions can exacerbate problems with adhesion when applying sealcoating. Therefore, dry and sunny weather conditions are essential for ensuring asphalt sealers dry more quickly.
This also means the shade vs sun sealcoating dry time can be significant. Areas of your driveway that get direct sunlight will cure much faster than sections that are covered by trees or the shadow of your house for most of the day.
Application Thickness
The thickness of the applied sealer also affects the drying time. The application method, such as spraying or squeegeeing, can also influence how quickly the sealer dries and cures. Multiple thin applications of the sealer can lead to quicker drying compared to a single thick layer, which may take a bit longer.
Type of Sealer
There are three primary types of sealers used in driveway sealer sealcoating: asphalt-emulsion, coal-tar, and water-based/acrylic sealers. Water-based sealers typically dry faster than coal-tar or asphalt-emulsion types.
Choosing a faster-drying sealer like water-based acrylic can minimize the waiting time before the driveway is ready for use.
Best Practices for Applying Driveway Sealcoating
Sealcoating your driveway can be a rewarding DIY project, but following a clear process helps achieve professional-quality results. Here’s a reliable step-by-step method to guide you through:
Step 1: Gather Materials and Tools
Before starting, assemble all your materials. This includes sealcoat buckets, stir sticks, a long-handled paint roller or squeegee, brushes for edges, protective gear, and cleaning tools like brooms or blowers.
Step 2: Clean and Repair the Surface
Inadequate surface cleaning before sealing can lead to poor adhesion of the sealer, so it’s important to clear the driveway of leaves, dirt, and loose debris using a broom or leaf blower. Pressure wash stubborn stains and let the surface dry thoroughly. Repair cracks and potholes with appropriate fillers to create a smooth base.
Step 3: Mix the Sealer
Stir the sealcoat thoroughly to avoid lumps and have an even application. Some sealcoats require dilution, so, refer to product instructions carefully.
Step 4: Apply the First Thin Coat
Pour the sealer in manageable sections and spread evenly with your roller or squeegee in long, overlapping strokes. Begin furthest from the driveway exit to avoid stepping on wet areas.
Step 5: Allow Drying Between Coats
Let the first coat dry to the touch, which can usually take 3-4 hours but can vary with weather conditions. Avoid foot or vehicle traffic during this time.
Step 6: Apply the Second Coat
Apply the second coat perpendicular to the first for even coverage. This step is key for durability and appearance.
Step 7: Final Drying and Check
Allow at least 24 hours before light vehicle traffic and 48 hours before heavy vehicles. The driveway should not be used until the sealant is completely cured to ensure a durable finish. Check for any missed spots or thin coverage and touch up if necessary.
Step 8: Cleanup
Clean your tools promptly with water (or appropriate solvent). Dispose of leftover materials responsibly. Store unused sealcoat as directed by the manufacturer.
Essential Safety Precautions for DIY Sealcoating
Before rolling up your sleeves and diving into sealcoating, personal safety should be your top priority. Sealcoating involves chemicals like coal-tar emulsions that can pose health risks without proper precautions.
Here’s how to keep yourself safe:
- Protective gear is a must: Gloves, safety goggles, and a respirator or face mask help shield your skin, eyes, and lungs from irritants and fumes.
- Work in a well-ventilated area: Avoid sealcoating on windy days to reduce inhalation of harmful particles, and ensure plenty of fresh air.
- Avoid skin contact: Sealers can cause irritation or burns; if any gets on your skin, wash it off promptly with soap and water.
- Be cautious with children, pets, and pregnant individuals: Keep vulnerable groups away from the area during and after application until the surface is dry.
- Handle spills with care: Follow product guidelines for cleanup and dispose of waste per your local regulations. Never pour leftover sealer down drains.
- Consult the Safety Data Sheet (SDS): Each sealant comes with an SDS that outlines specific hazards and emergency steps. Consider reviewing this before starting your project.
- In case of ingestion or serious exposure, seek immediate medical attention.
Taking these safety steps seriously protects you and your household while ensuring a smooth, worry-free sealing job.
Does DIY feel overwhelming? Let our professionals handle your sealcoating project for a flawless finish.
Ideal Application Conditions
The ideal temperature range for sealcoating is between 50°F and 90°F, with optimal results typically achieved around moderate temperatures of 70°F. These guidelines apply not only to residential driveways but also to larger areas, such as parking lots.
This is why the timing of sealcoating in fall/spring/summer is so important. Generally, late spring and summer offer the most reliable windows of warm, dry weather, though early fall can also be a great time as long as temperatures remain consistently above 50°F.
Also, the ideal humidity levels for optimal drying of asphalt sealer are between 40% to 60%.
Schedule sealcoating on clear days to avoid rain, as excessive moisture can hinder adequate drying.
Monitoring Weather
It is advisable to keep an eye on the weather forecast for at least eight hours after applying sealant to avoid rain exposure. Unexpected rain during the critical time frame can jeopardize the effectiveness of the newly applied sealcoating.
Sealing your driveway at the right time is just as important as the application method. Timing can make or break the durability and look of your work.
Accelerating the Drying Process
Various methods can speed up the drying and curing process for driveway sealcoating. Using sealcoat additives, such as Fass-Dri Pavement Sealer Additive, can improve the drying and curing speed of driveway sealcoating.
Using Sealcoat Additives
Sealcoat additives can be used to accelerate the drying process of sealcoating. Additives like Fass-Dri Pavement Sealer Additive provide faster drying and curing due to advanced nano-cure technology. Additives can increase the adhesion of sealcoating materials, leading to quicker curing.
Optimal Weather Conditions
Dry and sunny conditions improve the drying of asphalt sealer. In fact, weather conditions literally determine the drying time of driveway sealers.
Potential Issues During Drying and How to Fix Them
Even when following best practices, sealcoating projects can encounter issues during the drying and curing phase. Knowing how to identify and fix these problems is key to a durable, attractive finish.
- Rain Damage Early in the Process: Rain hits the driveway before the sealer fully dries, causing dullness, washout, or uneven patches. So, allow the surface to dry completely once the weather clears (sometimes multiple days). Then, apply a thin recoat to restore uniform coverage.
- Bubbling or Blistering: Small bubbles form under the sealer, often due to excessive heat, thick application, or trapped moisture. What do you do? Slightly sand the bubbled areas once dry, clean the dust, and apply a thin topcoat. Avoid thick coats in hot weather and seal on cooler, overcast days.
- Cracking and Peeling After Cure: The sealer cracks or flakes off, often from poor surface prep, underlying asphalt damage, or improper drying. Therefore, remove loose sealers with a wire brush or pressure washer. Let the surface dry fully, repair any asphalt damage, then reapply with the correct sealer type.
- Prolonged Tackiness or Soft Spots: If the sealcoat remains sticky or soft for days due to humidity, thick application, or low-quality products, be patient. Curing can take longer in humid conditions. For persistent spots, allow more drying time or lightly sand and touch up.
- Water Pooling on Sealed Surface: After sealing, water puddles in areas due to low spots or depressions in the driveway. While not a direct sealer flaw, address drainage with filler compounds or resurfacing before sealcoating.
Adequate preparation for these common setbacks and tackling them promptly will help your driveway sealcoating activity be productive, and will also make your driveway sealcoating strong and attractive for years to come.
Long-Term Care for Sealed Driveways
Sealcoat additives can improve the durability of asphalt pavements. They:
- Help resist power steering marks while the surface is drying.
- Support regular maintenance that helps identify cracks or damages early.
- Allow for prompt repairs to prevent more extensive issues and seal asphalt pavement, including the use of asphalt sealcoat.
It is advisable to reapply sealcoating every 2-3 years to maintain the driveway’s protection and appearance.
Regular Maintenance
Regularly inspect your driveway to promptly address any cracks or damage. Prompt repairs of cracks and potholes are essential to prevent minor issues from becoming major problems.
Regular maintenance includes checking for damages, cleaning spills, and using a pressure washer for dust and debris.
Reapplication Schedule
Recommendations for driveway sealcoating frequency:
- Reapply driveway sealcoating every 2-3 years to maintain its protection and appearance.
- A properly applied driveway sealcoat typically lasts about 2-3 years before needing reapplication.
- Asphalt driveways should ideally be sealed every 3 to 5 years to maintain their structure and appearance.
Newly installed asphalt driveways should be sealed approximately 90 days after installation for optimal results. The first asphalt sealcoating treatment is recommended one year after installation.
Avoiding Common Mistakes
Driveway sealant drying and curing times depend on several factors:
- Typically dries to the touch within 3-4 hours under ideal conditions.
- Requires 24-48 hours for complete curing before it can handle vehicle traffic.
- Temperature, humidity, and application thickness directly affect drying time.
- Thicker applications take longer to set.
For best results, follow these steps before applying sealer:
- Prepare the surface adequately by cleaning it.
- Repair any cracks on the surface.
- Monitor the weather forecast for rain within at least 8 hours of application to prevent unexpected exposure to elements that negatively impact drying. Additionally, consider how much sealer you will need for the project.
For good adhesion of the sealer, avoid applying when the humidity is high; this could lead to poor adhesion issues. Be cautious of any potential rain exposure during the critical first hours after application as it can lead to defects in the seal, especially in low humidity conditions.
Summary
If you follow the recommended guidelines for surface preparation, weather monitoring, and additive use, you can achieve a durable and high-quality seal. Protect your driveway now. Connect with us to achieve long-lasting results.
Frequently Asked Questions
Have questions? We at Bart’s Asphalt can help!
How long does it take for driveway sealcoating to dry?
Driveway sealcoating usually dries to the touch in about three to four hours but requires 24 to 48 hours to fully cure before any vehicle traffic can resume.
What factors affect the drying time of driveway sealcoating?
The drying time of driveway sealcoating is influenced by weather conditions, the type of sealer used, and the thickness of the application. These factors are essential for achieving the best possible results and durability.
How often should driveway sealcoating be reapplied?
Driveway sealcoating should be reapplied every 2 to 3 years to maintain protection and a great look. This will extend the lifespan of your driveway.
Can driveway sealant be applied over cracks or potholes?
It is essential to repair any cracks or potholes before applying driveway sealant for optimal adhesion and effectiveness. A durable and long-lasting seal largely depends on proper preparation.
What is the ideal temperature range for applying driveway sealcoating?
The ideal temperature range for applying driveway sealcoating is between 50-90°F, with optimal results usually occurring at around 70°F. Ensuring you work within this range will enhance the effectiveness of the sealcoat.
